you must have tried to make php mail() work on localhost. But had failed. don't give up.
Presenting the way for turning your localhost into a working mail server.
WHAT WE NEED
I use XAMPP as my local web server on my Windows machine. For php mail() function to work on the localhost, you need a SMTP mail server.
Requirements
A Web server : Here we use the xampp package. You can download it from here. It is very easy to install and does not require any expertise.
A Mail server : Mercury/32 Mail Transport System is an excellent mail server bundled with XAMPP. So no need to search for any other mail server.
A Mail Client : You need to have a mail client to receive mails sent from localhost or basically from your Mercury/32 mail server. Mail clients include outlook express, thunderbird, Eudoramail etc. For this tutorial I will be using the default mail client available with Windows system , ie the outlook express.
The Steps to Configure Mercury/32 mail server
The following steps will guide you through the working of mail function on localhost.
1) You need to start the localhost web server. The XAMPP in this case.
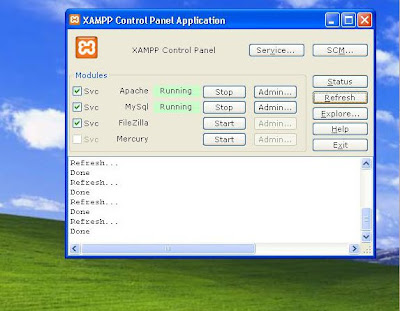
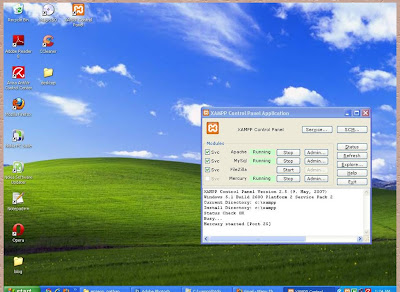
2) By default XAMPP will not start the mercury mail server. So you need to click on start to start the mercury/32 on the XAMPP control panel.
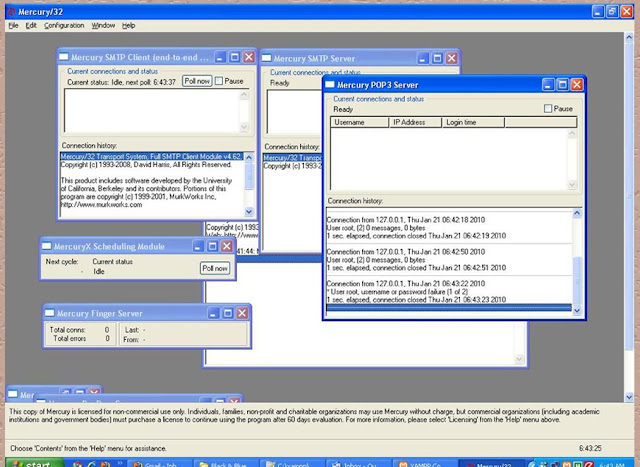
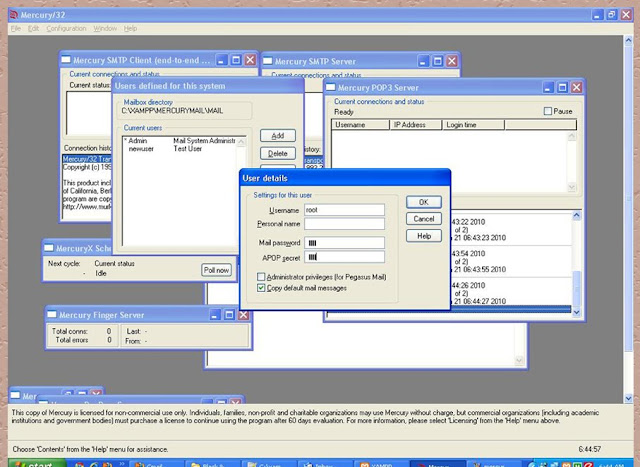
3) Click on the Admin Button next to mercury on XAMPP control panel. This will open the Mercury/32 Admin Panel. Click on Configuration -> Manage Local users.
4) Create a New User. Let
Username : root
Password : root
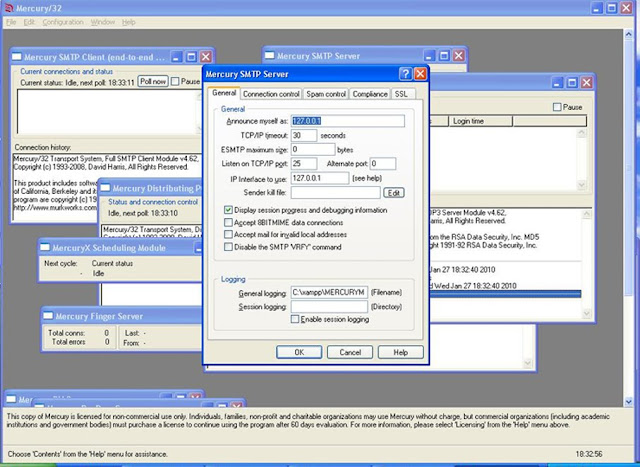
5) Next, from the Mercury/32 Admin panel, Go to Configurations -> Mercury SMTP server and make the following Changes.
IP Interface to use : 127.0.0.1
Listen to TCP/IP port : 25
Announce Myself as : 127.0.0.1
6)Next, from the Mercury/32 Admin Panel , Go to Configurations -> Mercury POP 3 Server and fill in the following details.
Listen to TCP port : 110
IP Interface to use : 127.0.0.1
7) Next, from the Mercury/32 Admin Panel, Go to Configurations - > MercuryE SMTP client Configuration , and make the following changes
Identify Myself as : 127.0.0.1
Name server : 127.0.0.1
8) Next step is from the Mercury/32 panel go to Configuration -> Mercury D pop3 client and there create a new Account. Click on “ADD” and then enter the following details for “Edit POP3 mailbox definition” dialog box.
POP3 Host : 127.0.0.1
Username : root
Password : root
And then click on save.
This finishes Configuration of your Mercury/32 Mail transport system.
We now have to configure a mail client, so as to receive mails. We will use the windows default mail client, the outlook express. The following steps will guide you to create a user account on outlook express.
Steps to set up OUTLOOK EXPRESS
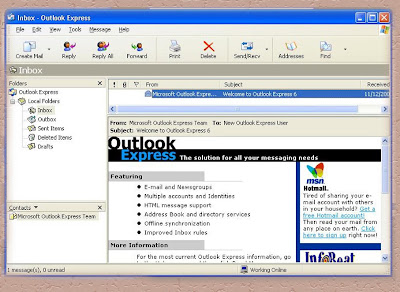
1)Open Outlook express and then click on Tools -> Accounts -> Add, and then click on Mail
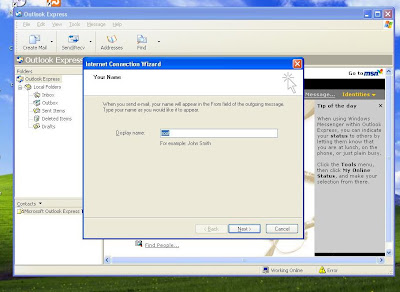
2)For new Internet account on outlook express , create a new user
Enter display name: root
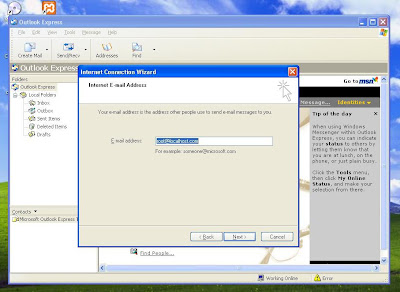
Enter email Id: root@localhost.com
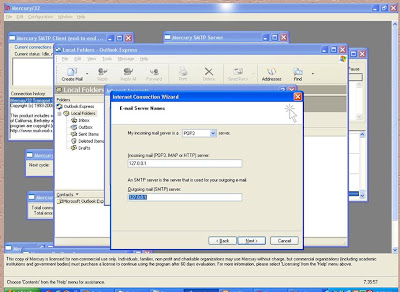
Then click Next. On the Internet Connection wizard,
Select POP3 for my incoming mail server.
For Incoming mail (POP3, IMAP, HTTP) server, enter
127.0.0.1
For Outgoing (SMTP) server, enter
127.0.0.1
Click on Next and then , enter the following fields
Account name : root
Password : root
Click on finish and you are ready to Go.
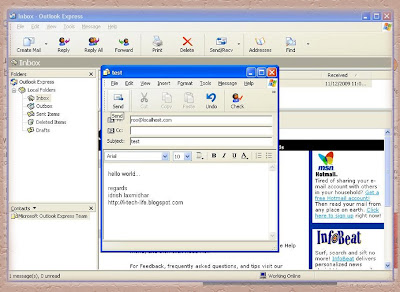
Once you have finished creating a account on Outlook express , send a test mail to yourself.
You can now test your php code to check if your script is working successfully or not.You can try this script. Copy the code and save it in a file for eg mail.php. Save this file in your root folder , for xampp it will be in your htdocs folder.
//php code to send mail,
//author : idrish laxmidhar
//Use this code to send a test mail from your localhost.
$to = "root@localhost.com";
$subject = "Hi!";
$body="test".PHP_EOL;
$body.="Hello World. If all went well then you can see this mail in your Inbox".PHP_EOL;
$body.="Regards".PHP_EOL;
$body.="Idrish Laxmidhar".PHP_EOL;
$body.="http://i-tech-life.blogspot.com".PHP_EOL;
$headers = "From: root@localhost.com";
if (mail($to, $subject, $body, $headers)) {
echo("Message successfully sent!
");
} else {
echo("Message delivery failed...
");
}
?>
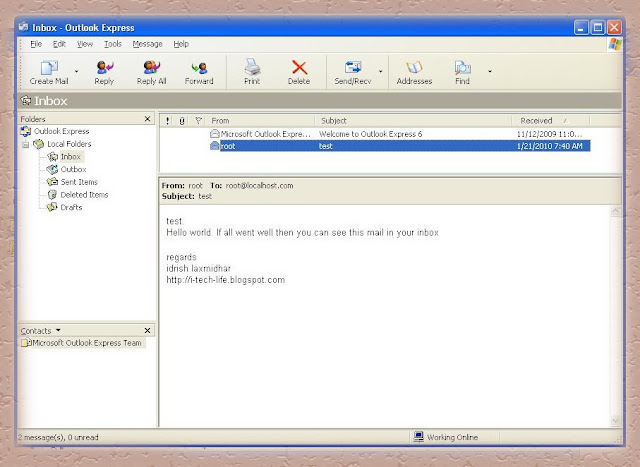
Run the script. If all went well, the script should execute successfully. Check your email. You should receive an e-mail.
